How to Work with Tables on monday.com

As we know, monday.com is used by various teams:
- IT teams
- Marketing and sales
- HR and accountants, etc.
But no matter what you do (track projects, work with customers, organize information about employees, or anything else), you always need tables to structure and present your data.
And it’s better to keep everything in one place and avoid switching between different platforms. It’s handy and efficient, and your information stays secure.
That’s why we decided to offer you some tips about working with tables on monday.com.
Treat boards as tables
The first piece of advice is to work with your board as a table.
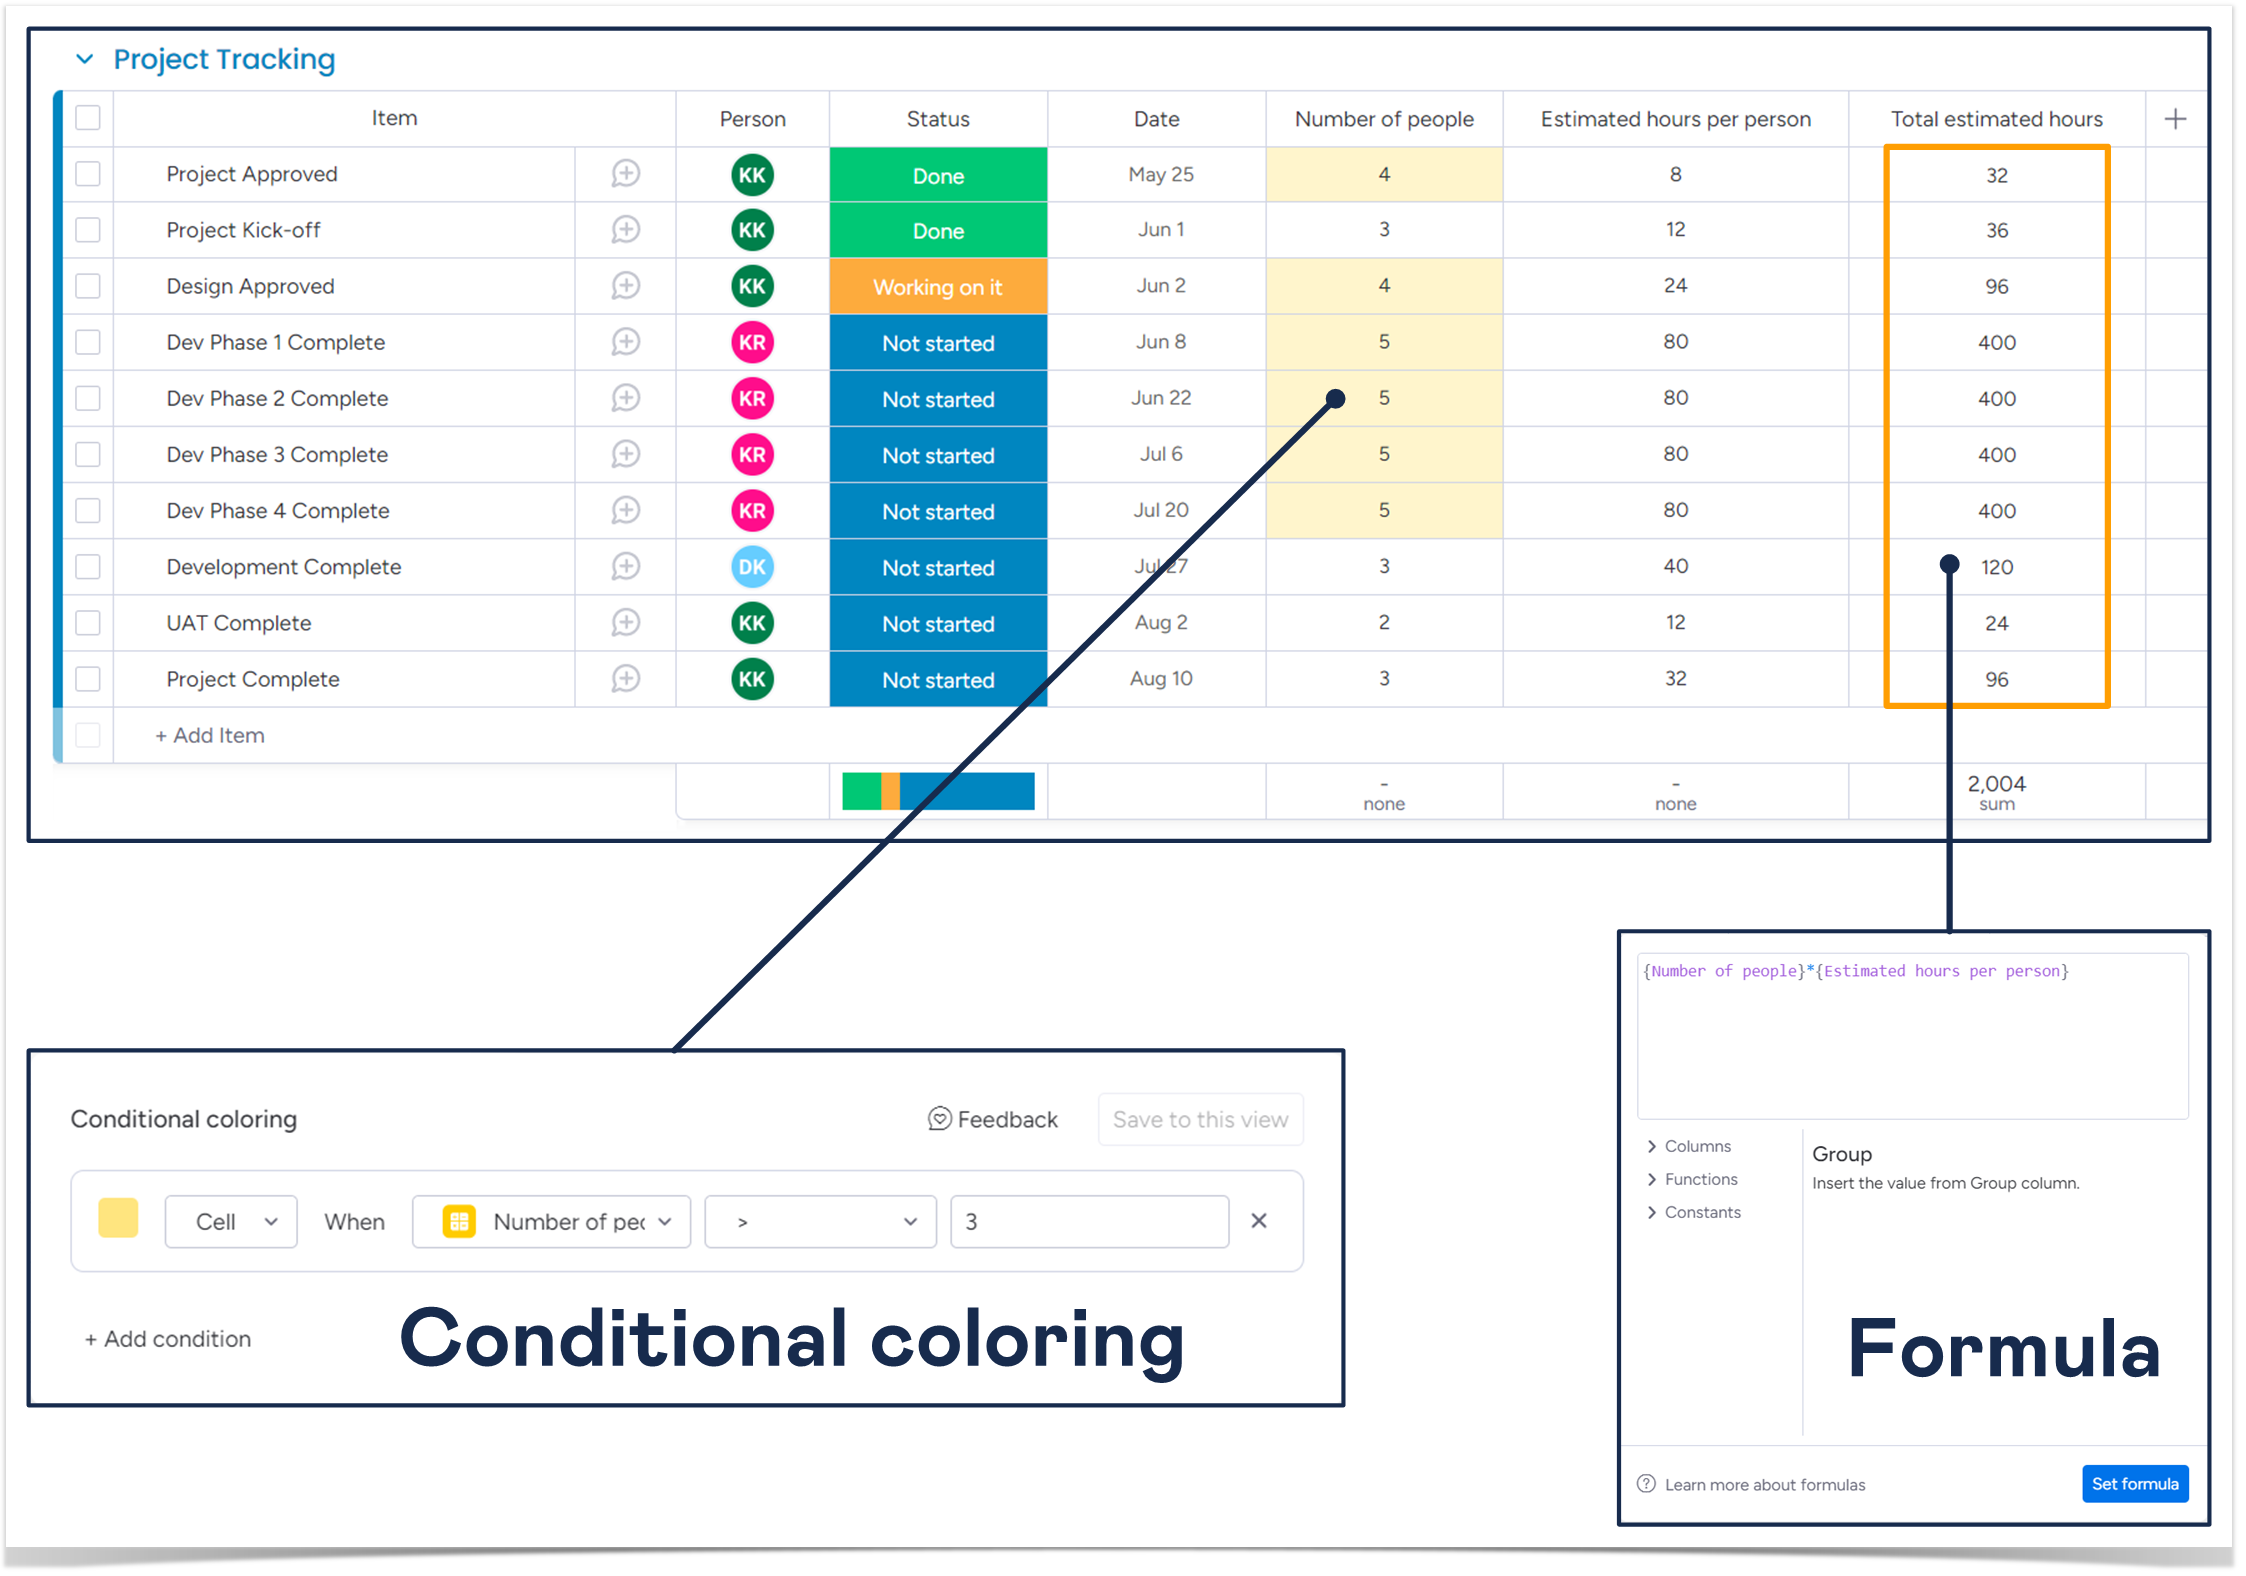
Note that you may easily filter and sort your columns: the corresponding buttons are placed at the top of your board, and they are always visible.
The conditional coloring button is another click away from you: go to the three-dot menu and find the paint tin icon. It opens the dialog window where you can set your conditions.
Also, remember to use dates and numbers within your boards. You can customize them: adjust the format to the one used in your country or company.
But the most interesting and powerful column type is the formula column. Formulas are compatible with most of the other column types and allow you to perform various mathematical calculations and logical operations. And you can always find the list of supported functions in the formula builder window.
Amplify boards with spreadsheets
You may also use additional apps to enhance your boards with spreadsheets. For example, we suggest trying our Smart Spreadsheet for monday app.
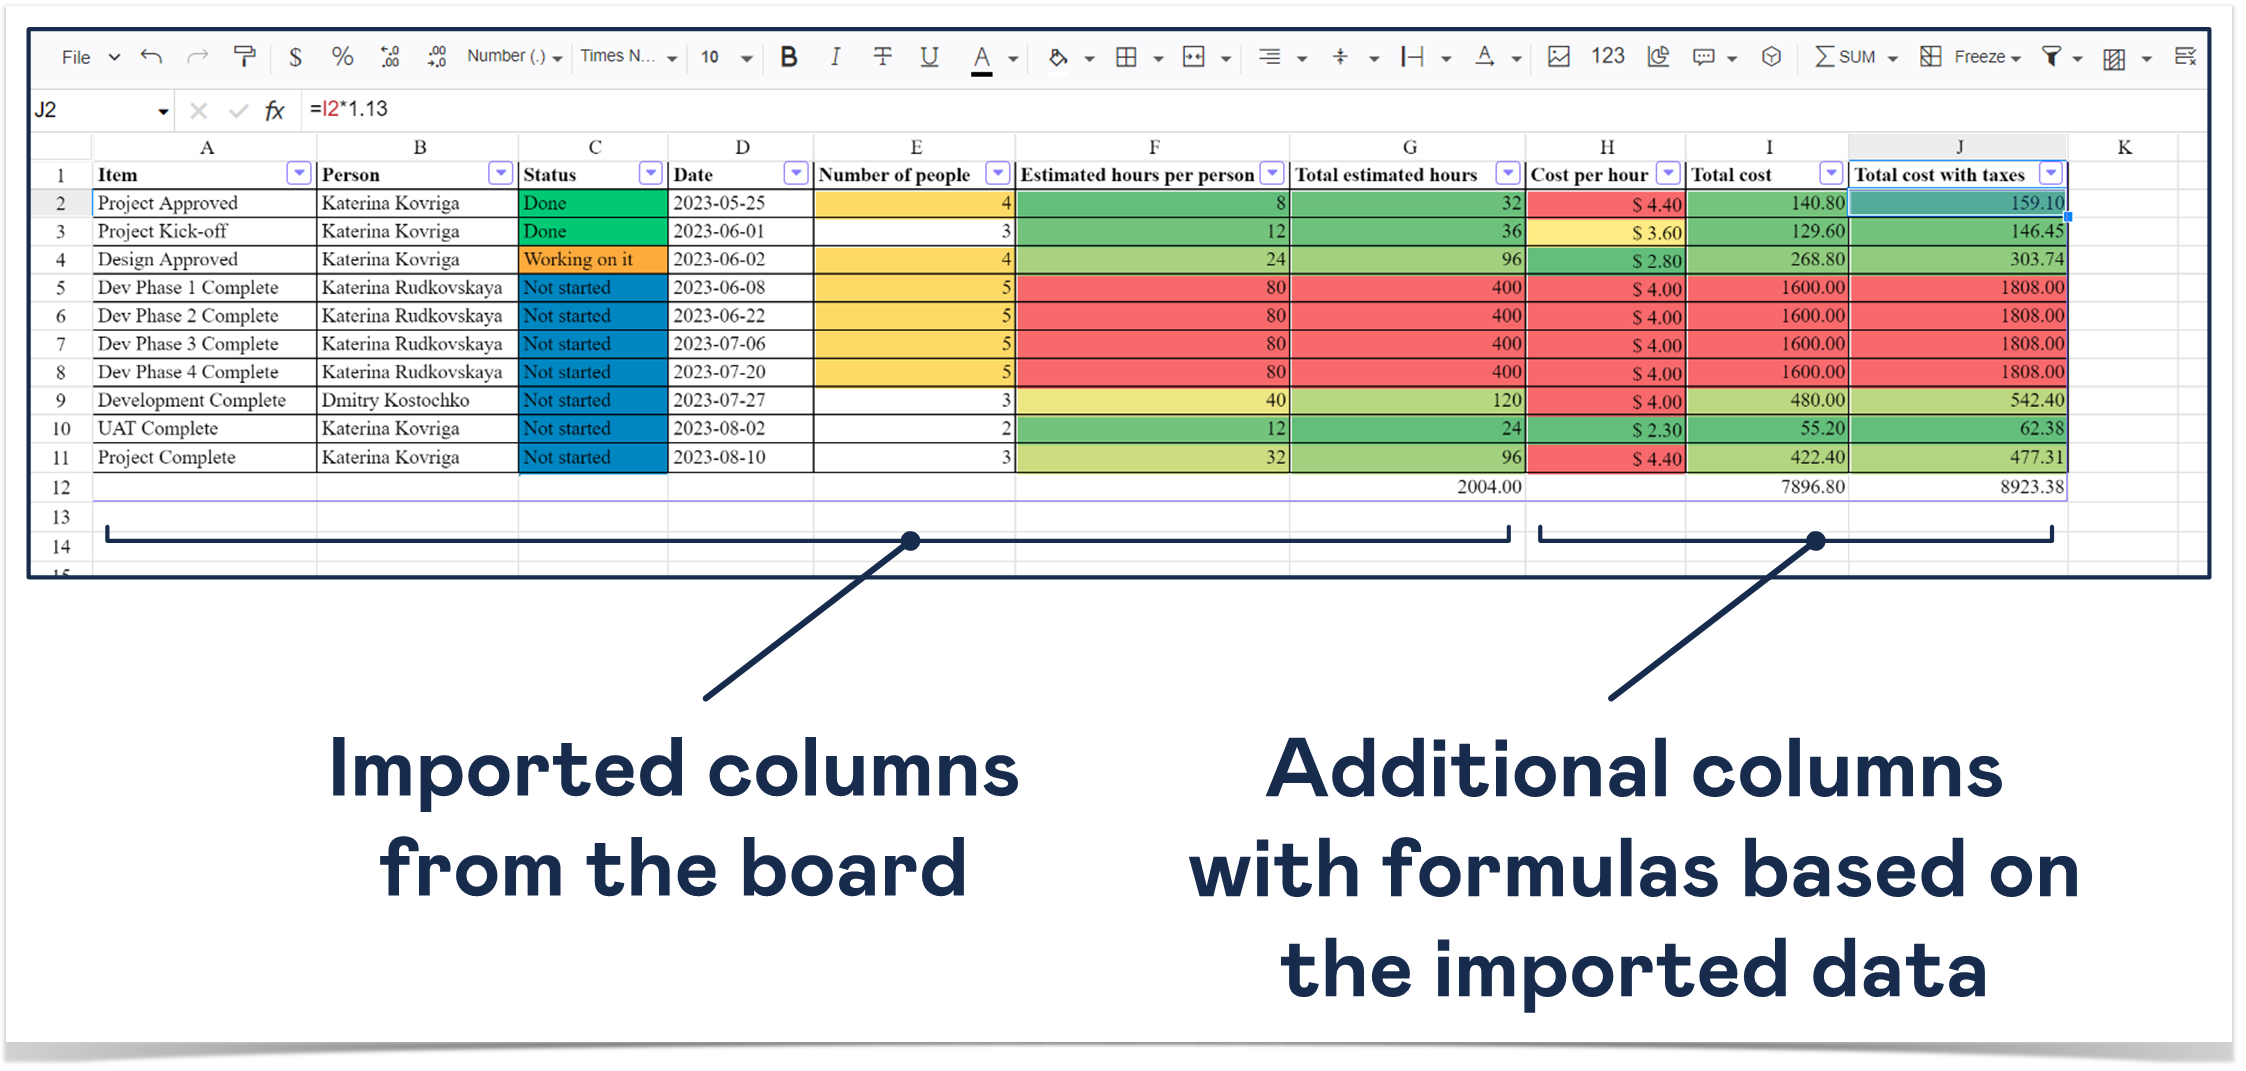
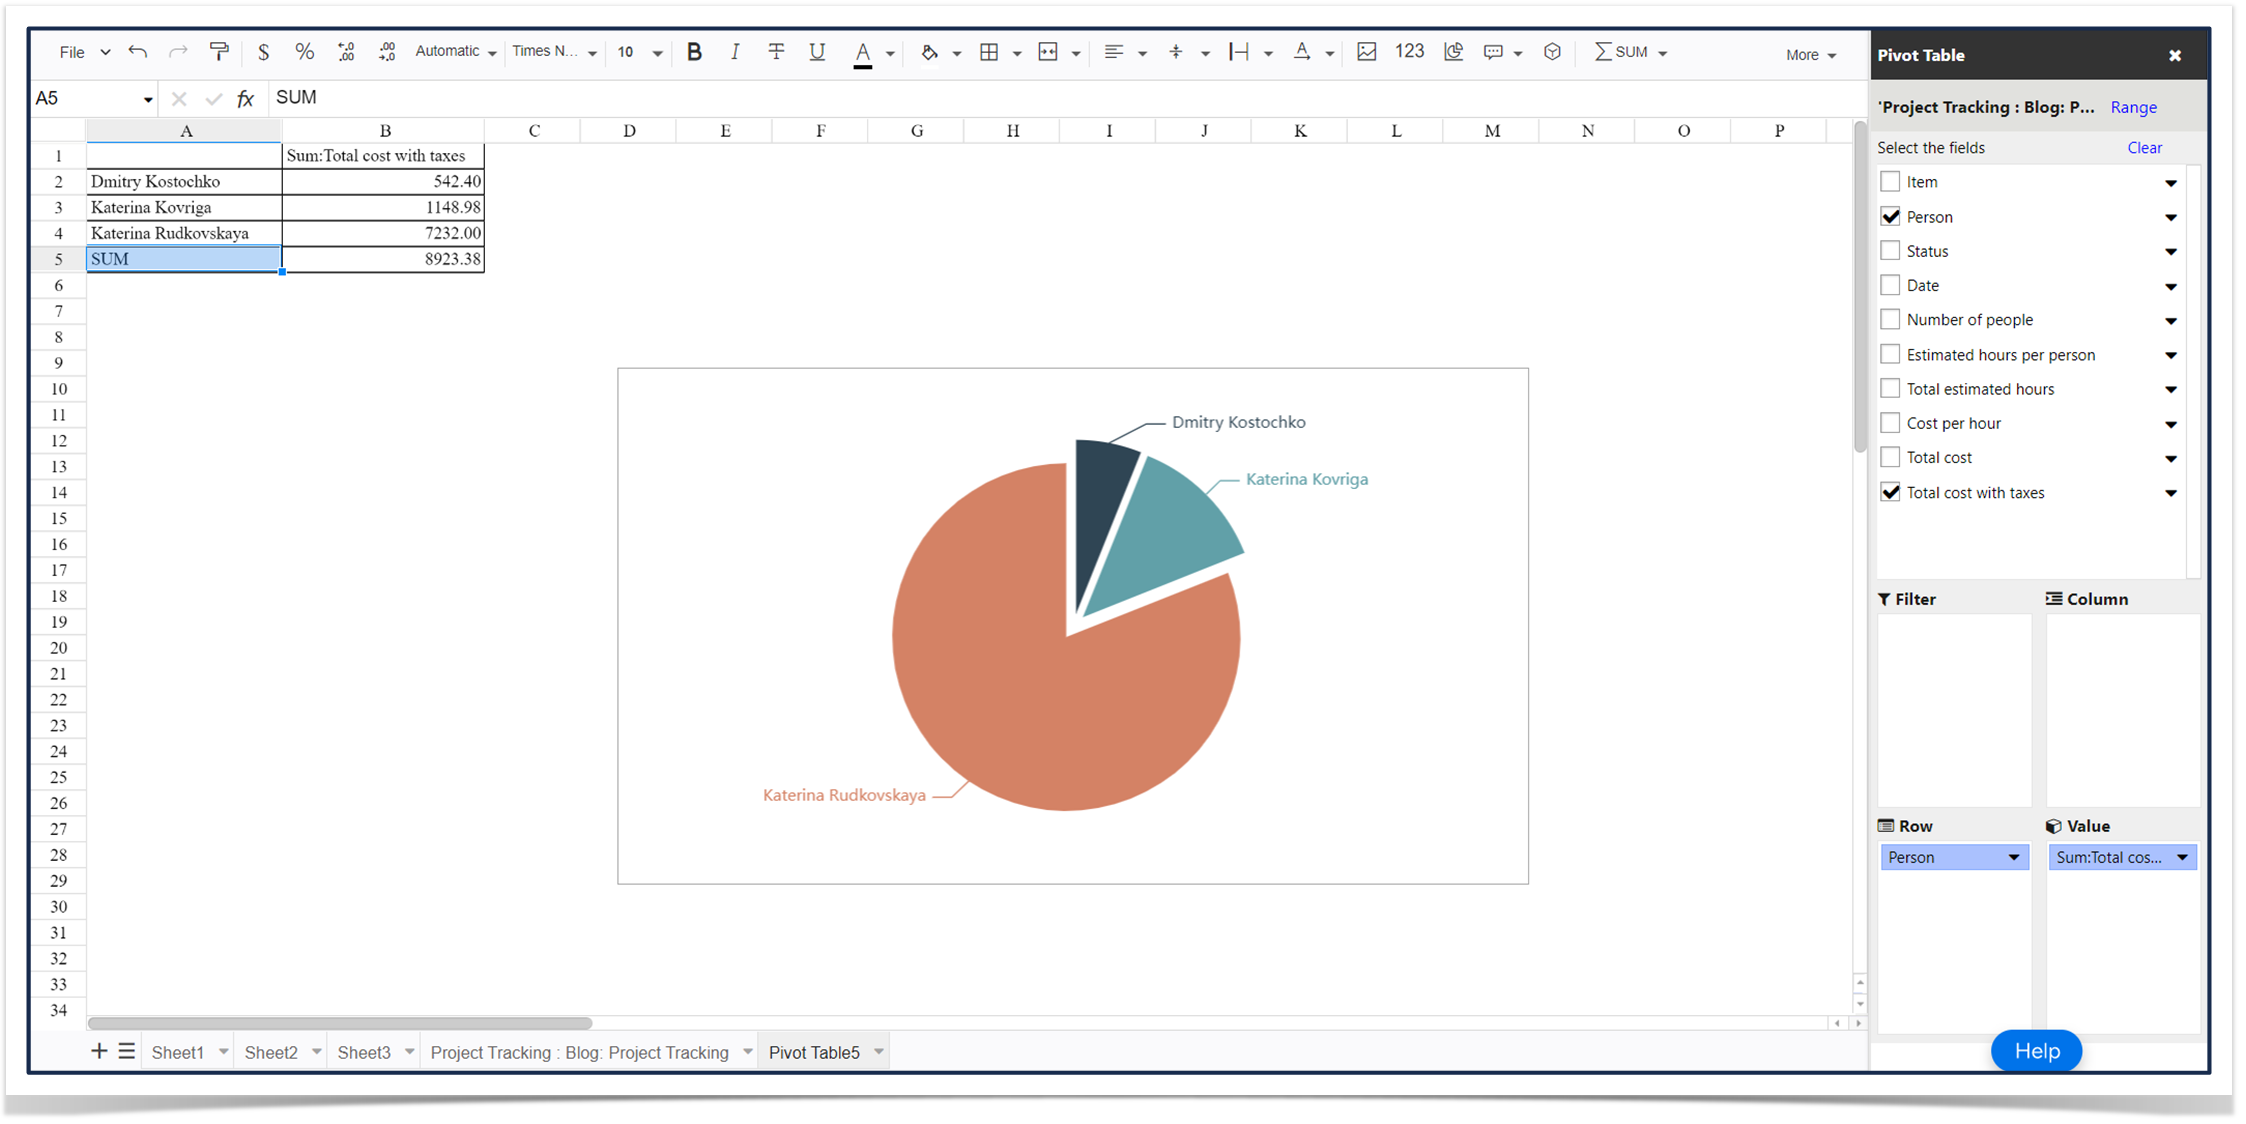
With its help, you can insert the spreadsheet as a Board/Item View or a Dashboard Widget. Then you may import your board and work both with the existing and newly created columns using the Excel-like functionality:
- filtration
- cell formulas
- conditional formatting
- pivot tables
- charts, and many more
Note that it’s not obligatory to import your boards. You can add whatever data you need from scratch. Or, for example, you can always insert Smart Spreadsheet as a Custom Object that is not connected to any boards at all.
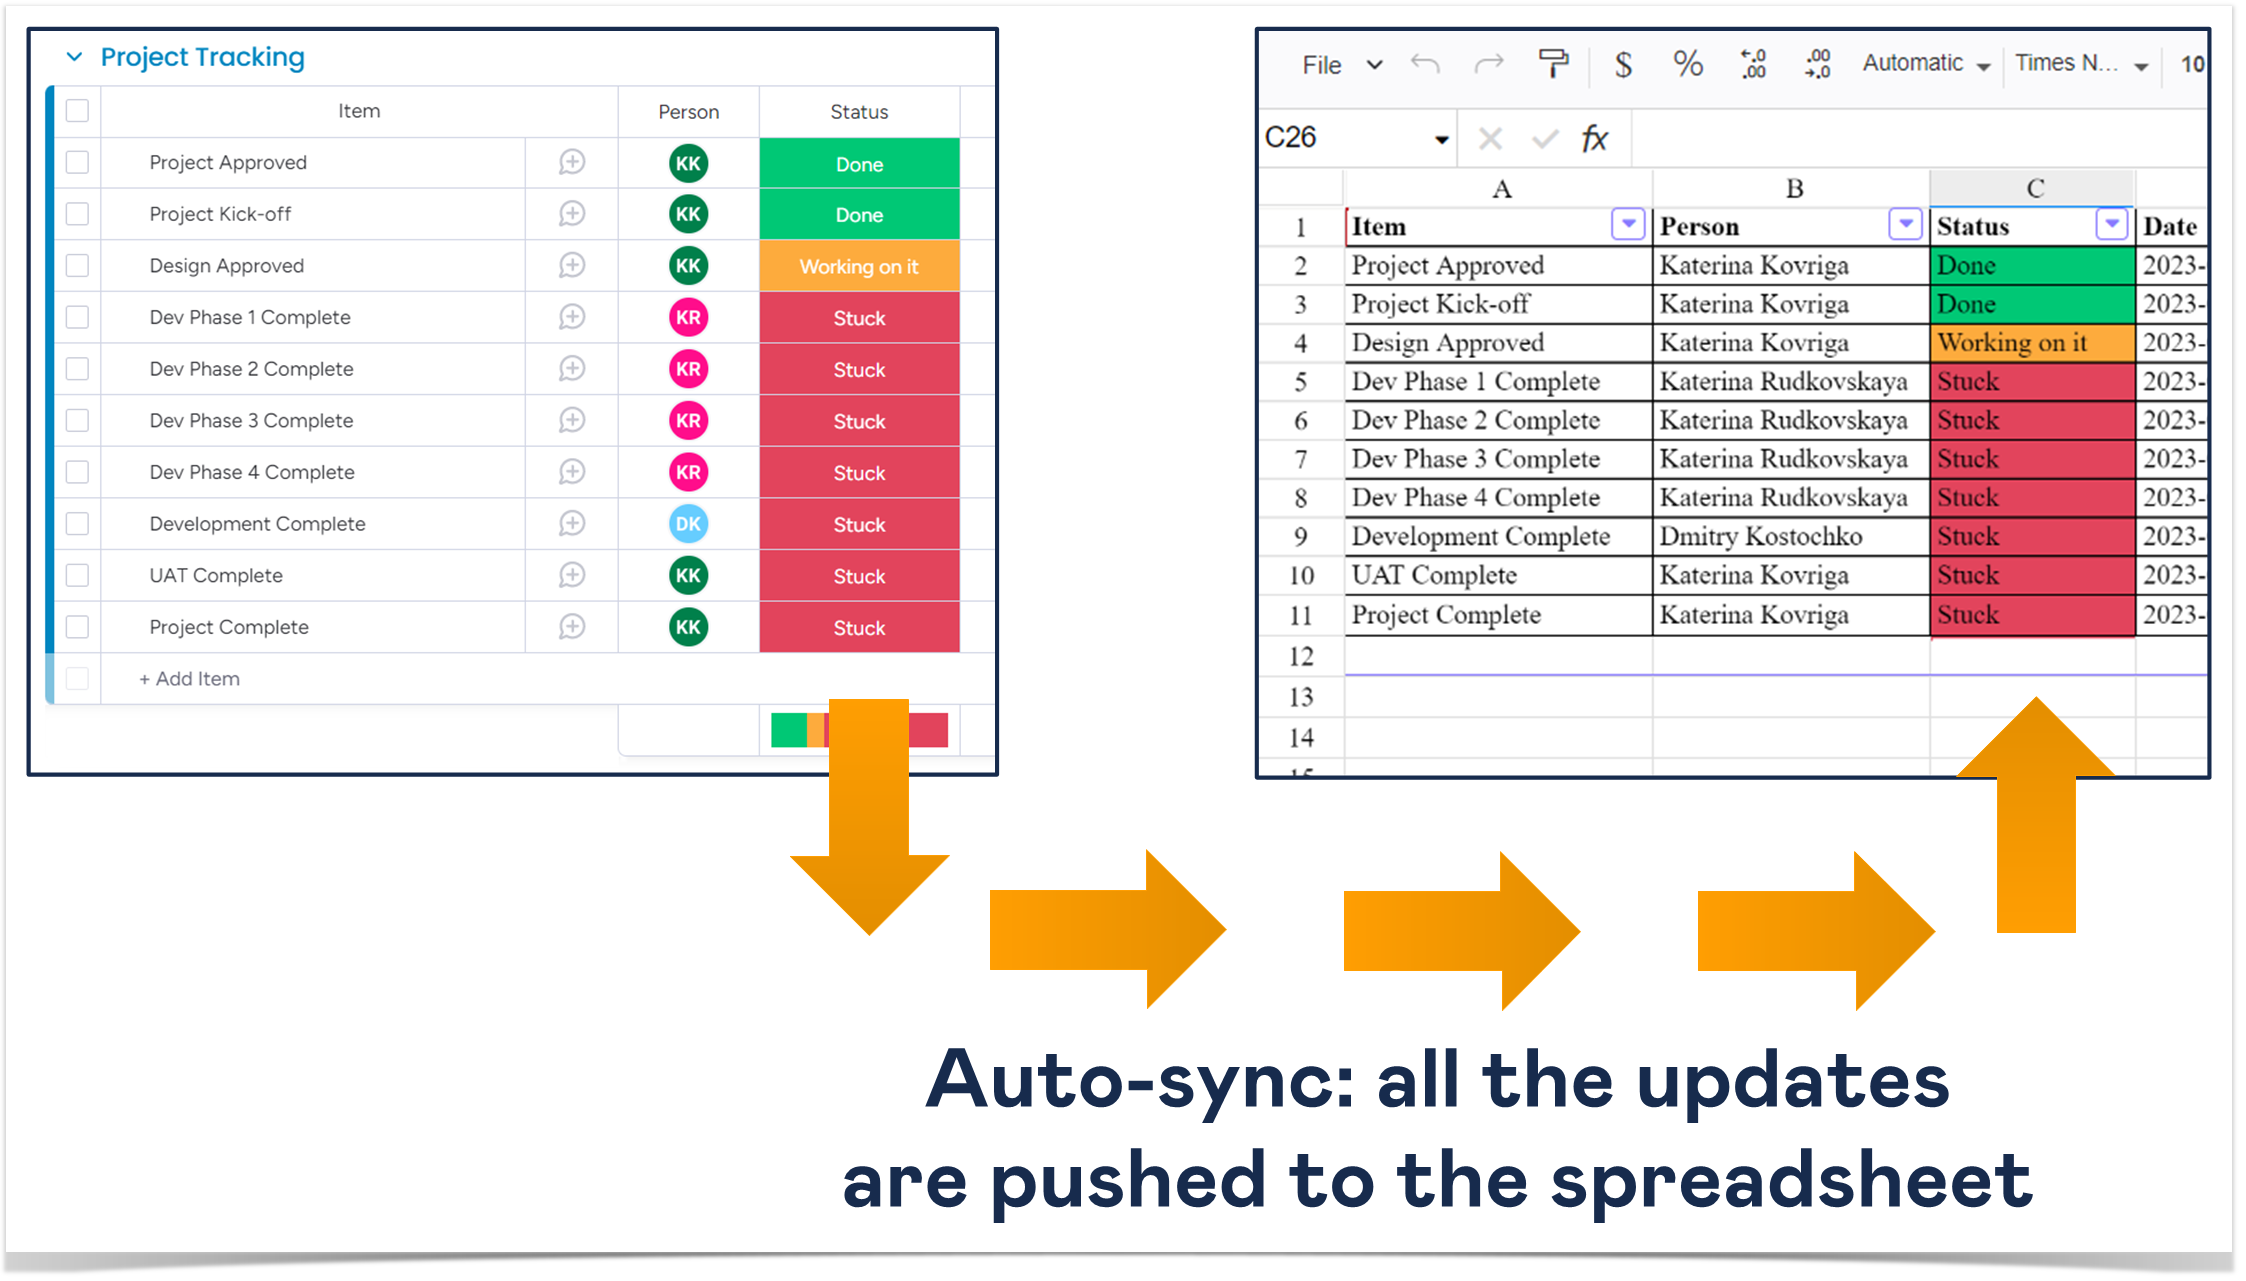
However, once the board is imported, the spreadsheet is auto-synchronized with it. Any changes made to the board are pushed to the spreadsheet immediately.
And you can also share data with your partners and customers. You import existing files in .xlsx and .csv formats to the spreadsheet, work on them within monday.com, and export them back later if required.
Use tables in Workdocs
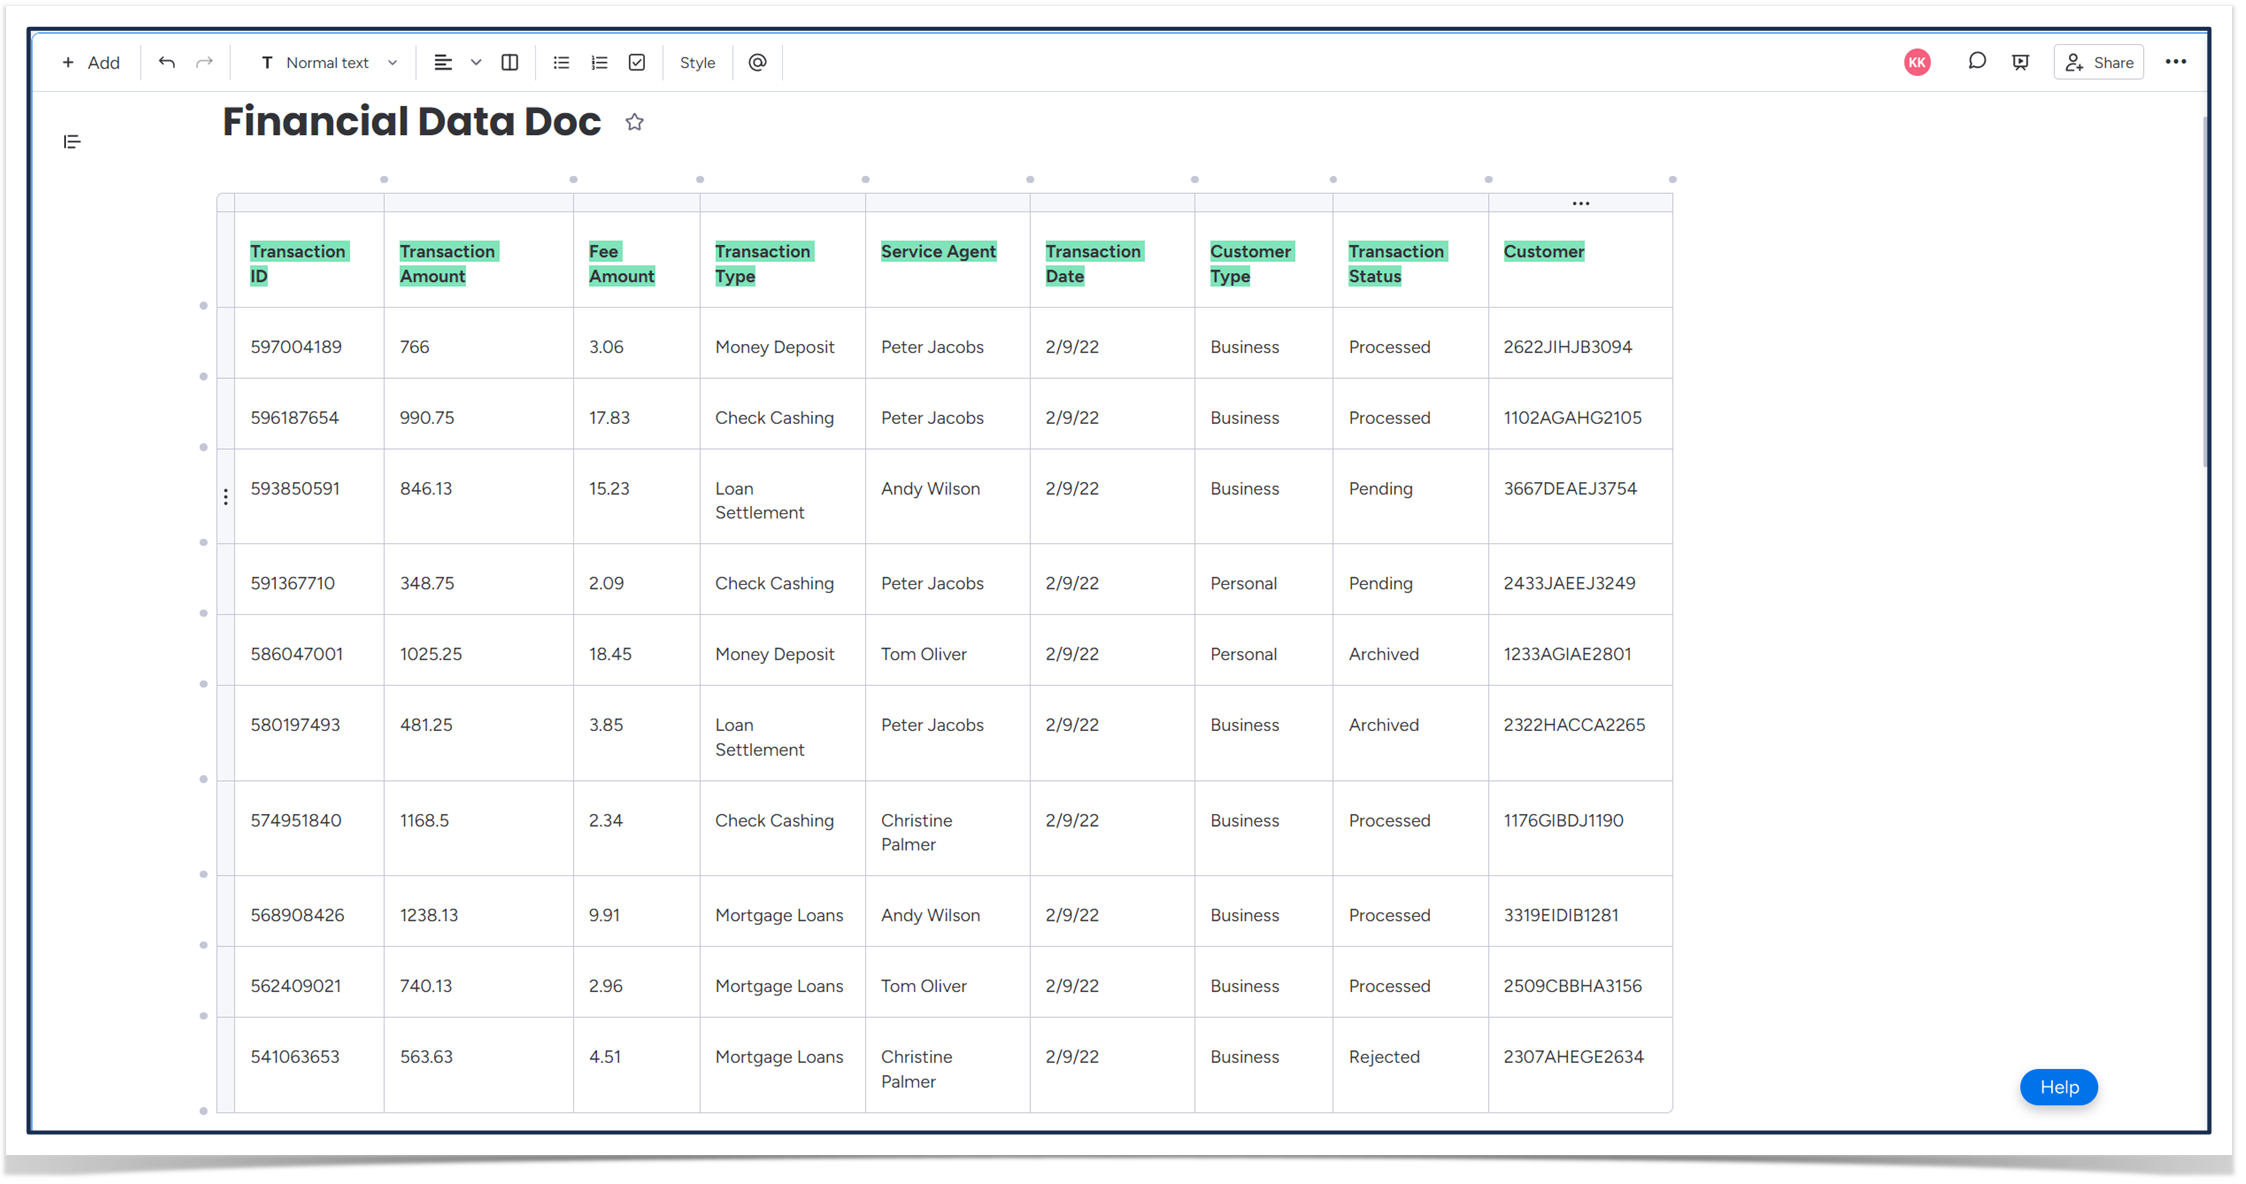
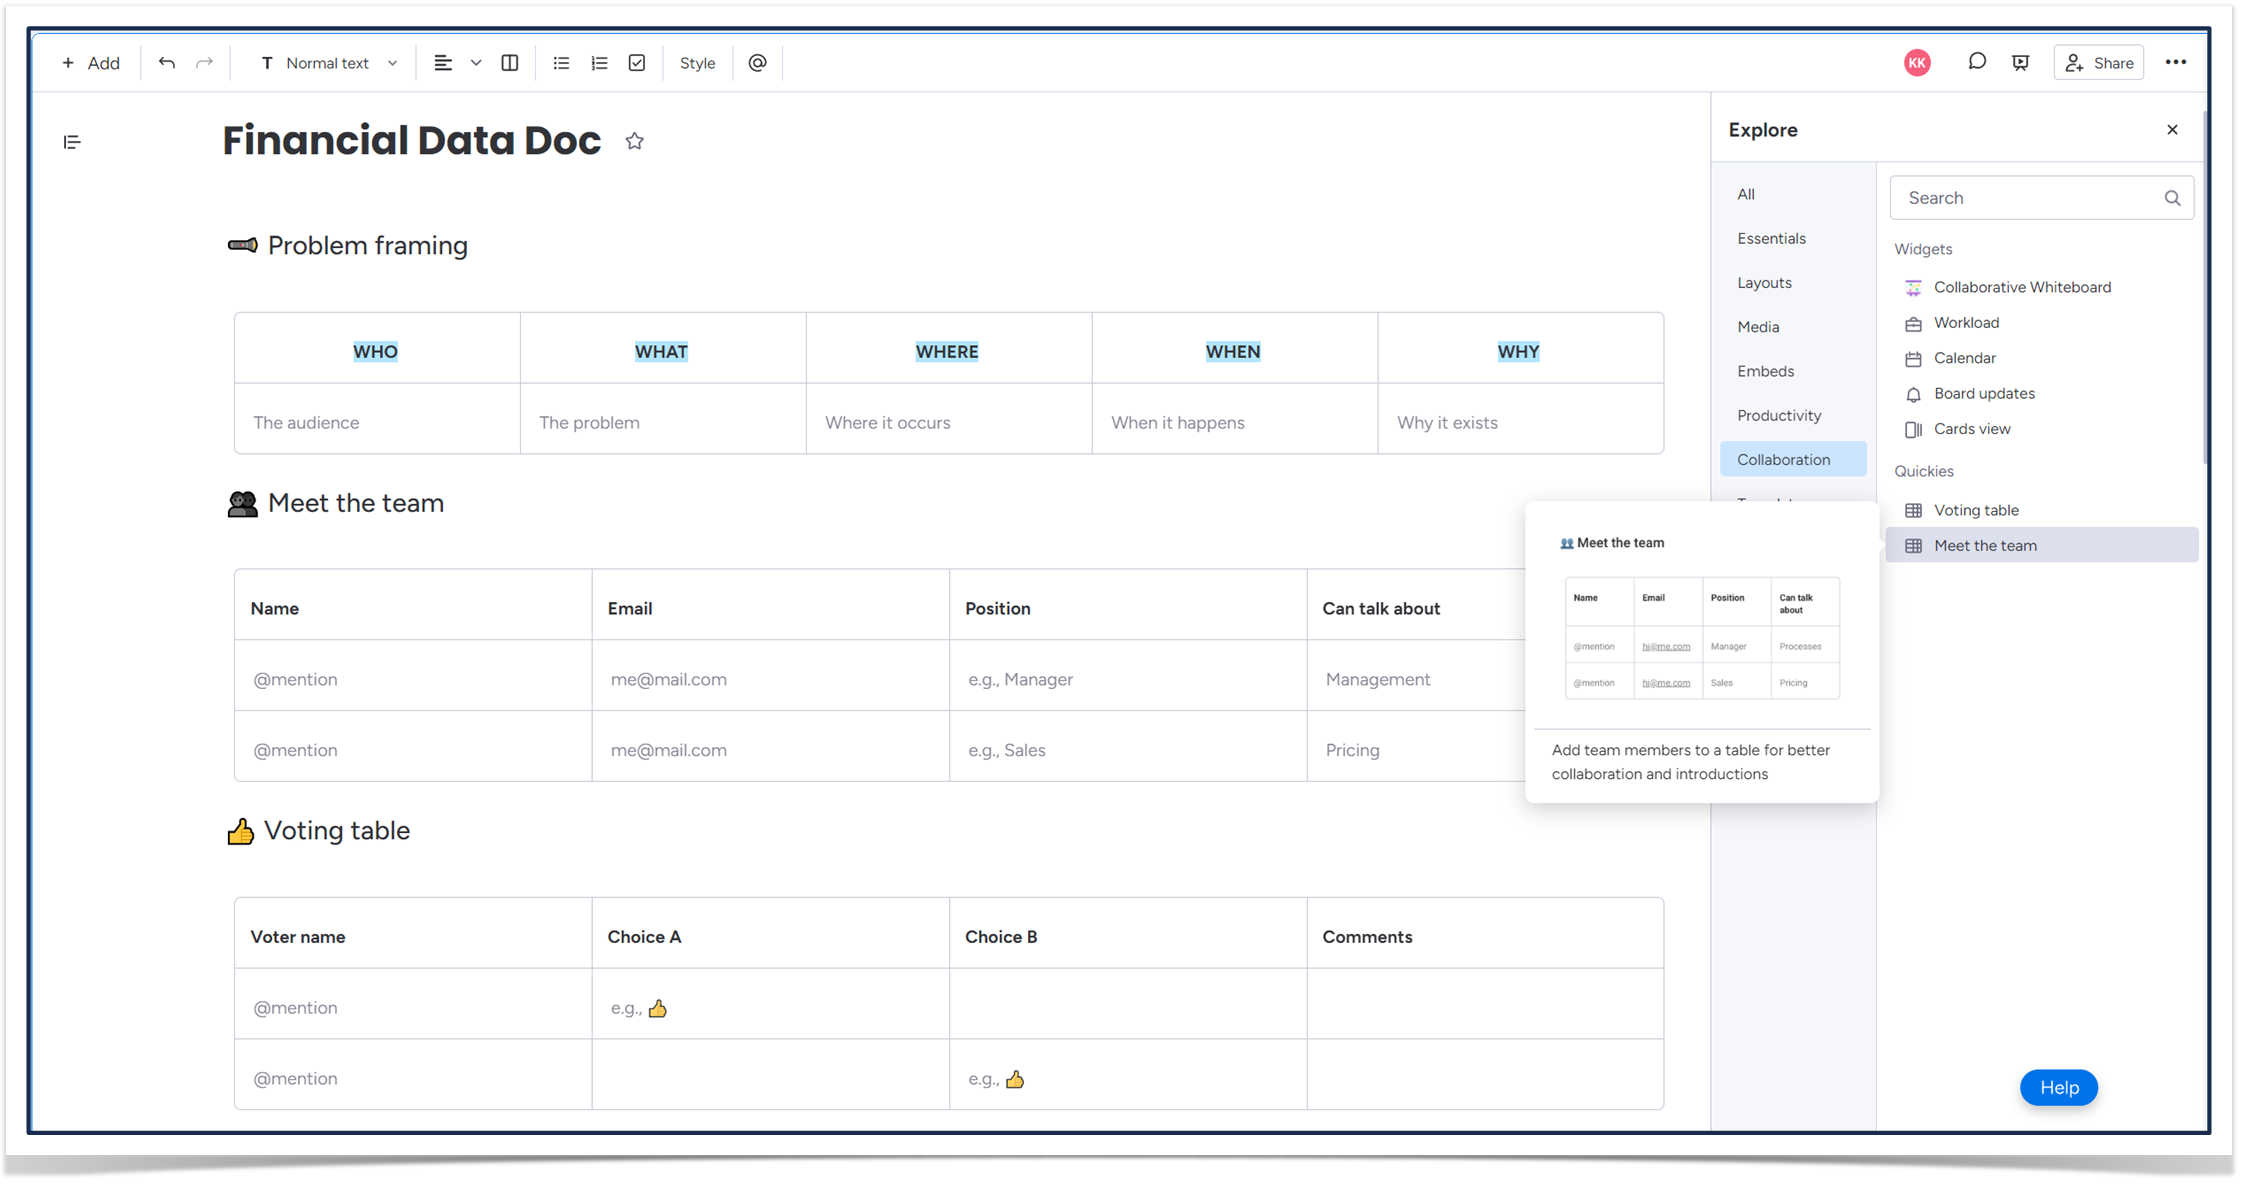
We also suggest using native monday.com tables in your Workdocs. Such tables help you to organize your data and present it in a more easy-to-read way.
To maintain consistency within your monday.com instance, use predefined table templates. They cover several widespread cases and may come in handy for your company as well.
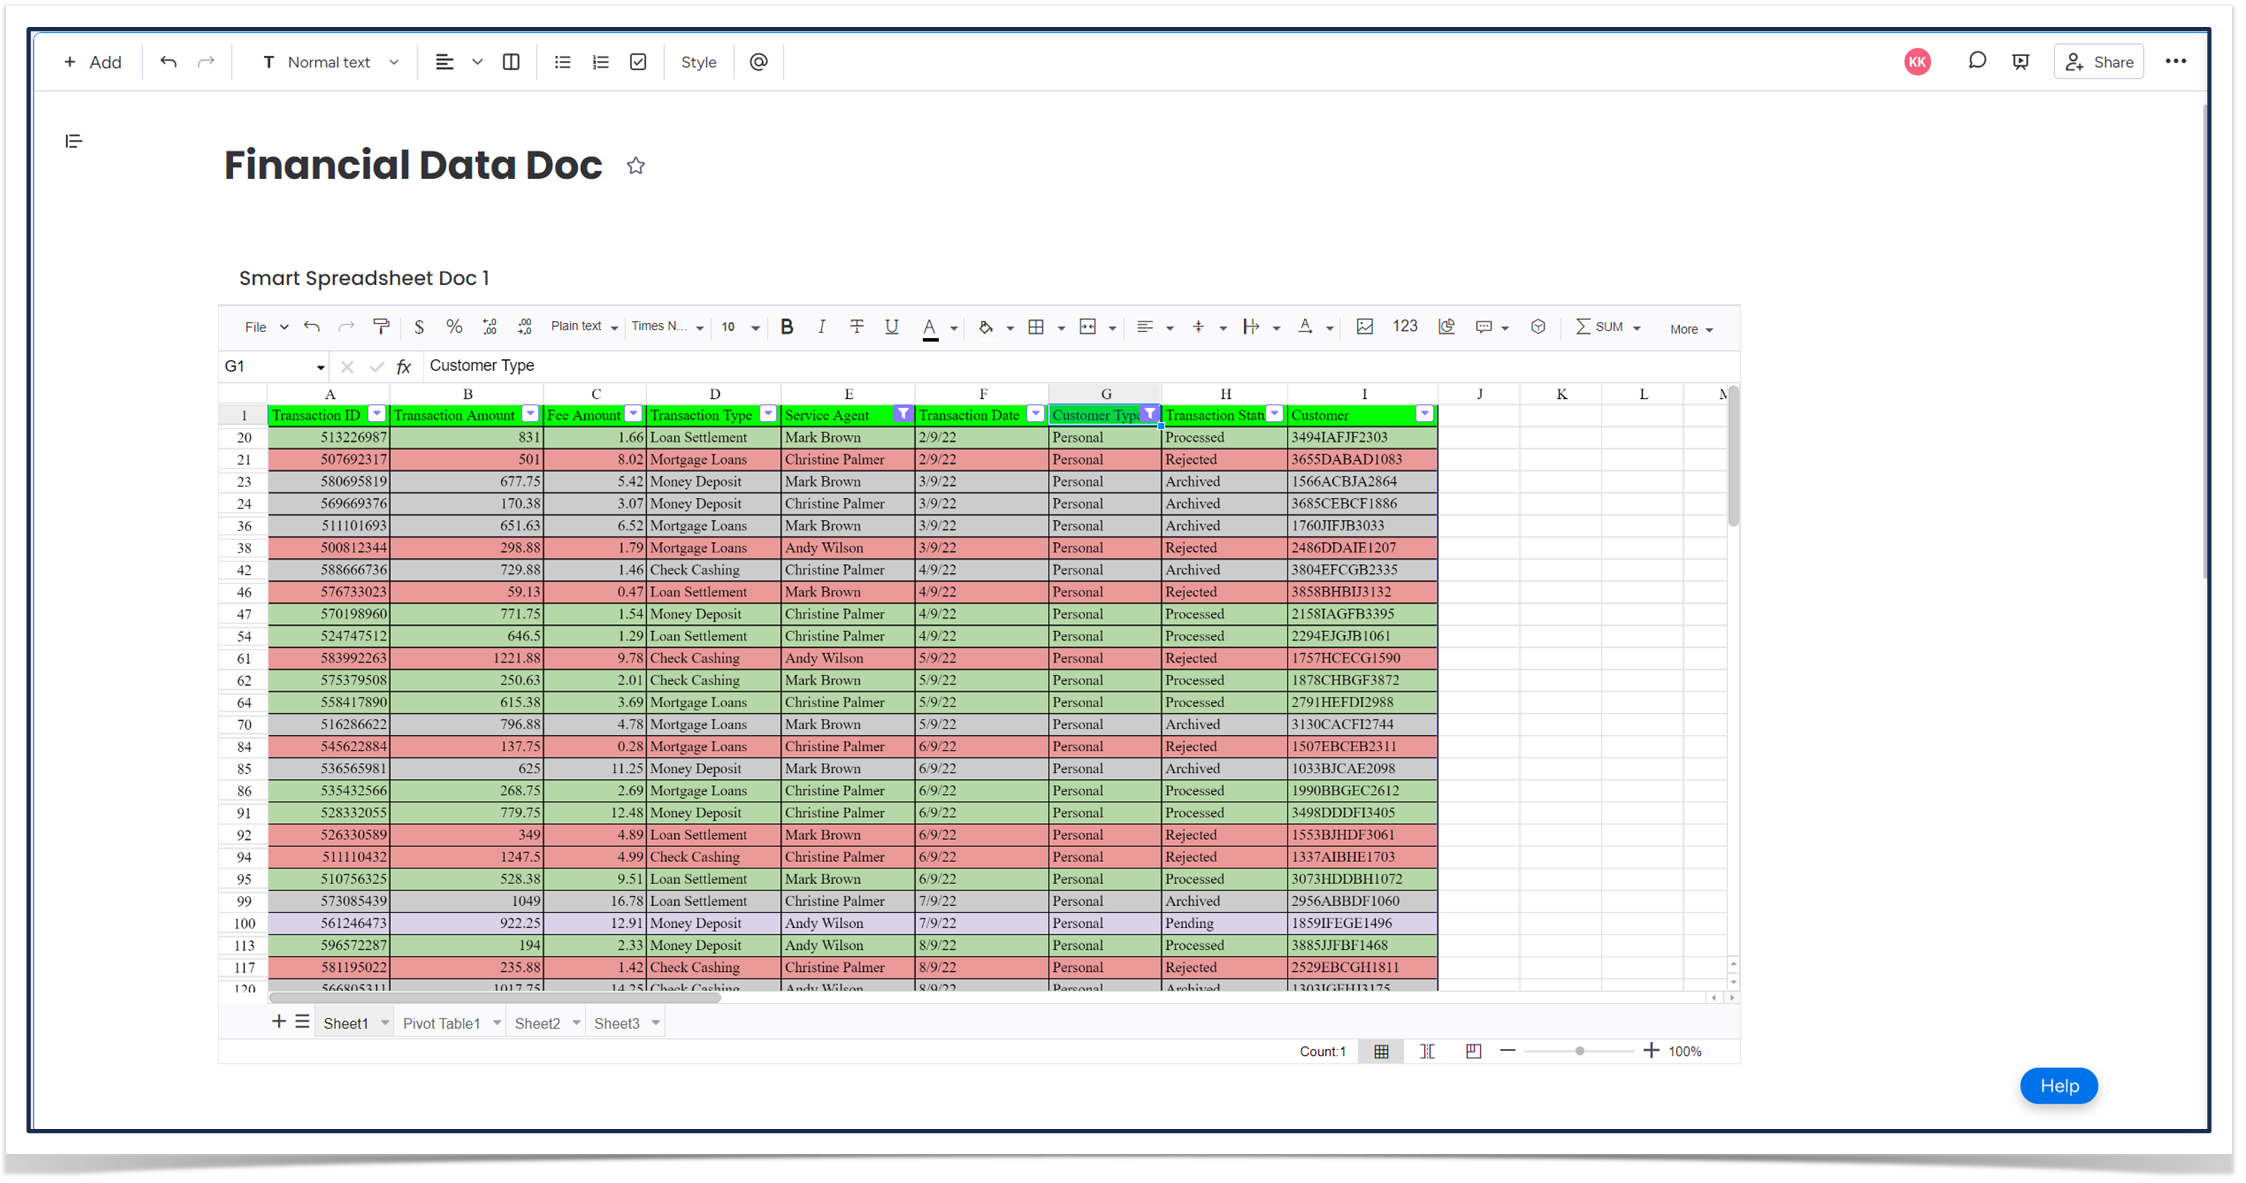
Insert spreadsheets into Workdocs
To get a fully functional Excel-like table in your Workdocs, insert our Smart Spreadsheet as a Workdocs Widget. It’s very efficient if you have a lot of information and it’s hard to process it without filtration, sorting, row/column freezing, calculations, aggregation, and visualization.
Note that the widget also supports the board importing and auto-synchronization mentioned above.
Let’s sum up
We may say that you can actually work with tables on monday.com productively. If native functionality lacks some features, you can always amplify your instance with additional apps.
Our Smart Spreadsheet for monday comes with a 14-day evaluation period to try the app and check if it suits your needs.


